Can I just start by saying how AWESOME it is to be getting stuck back into my sewing? Oh well I just did!
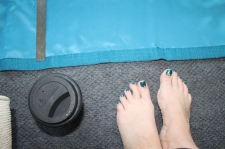
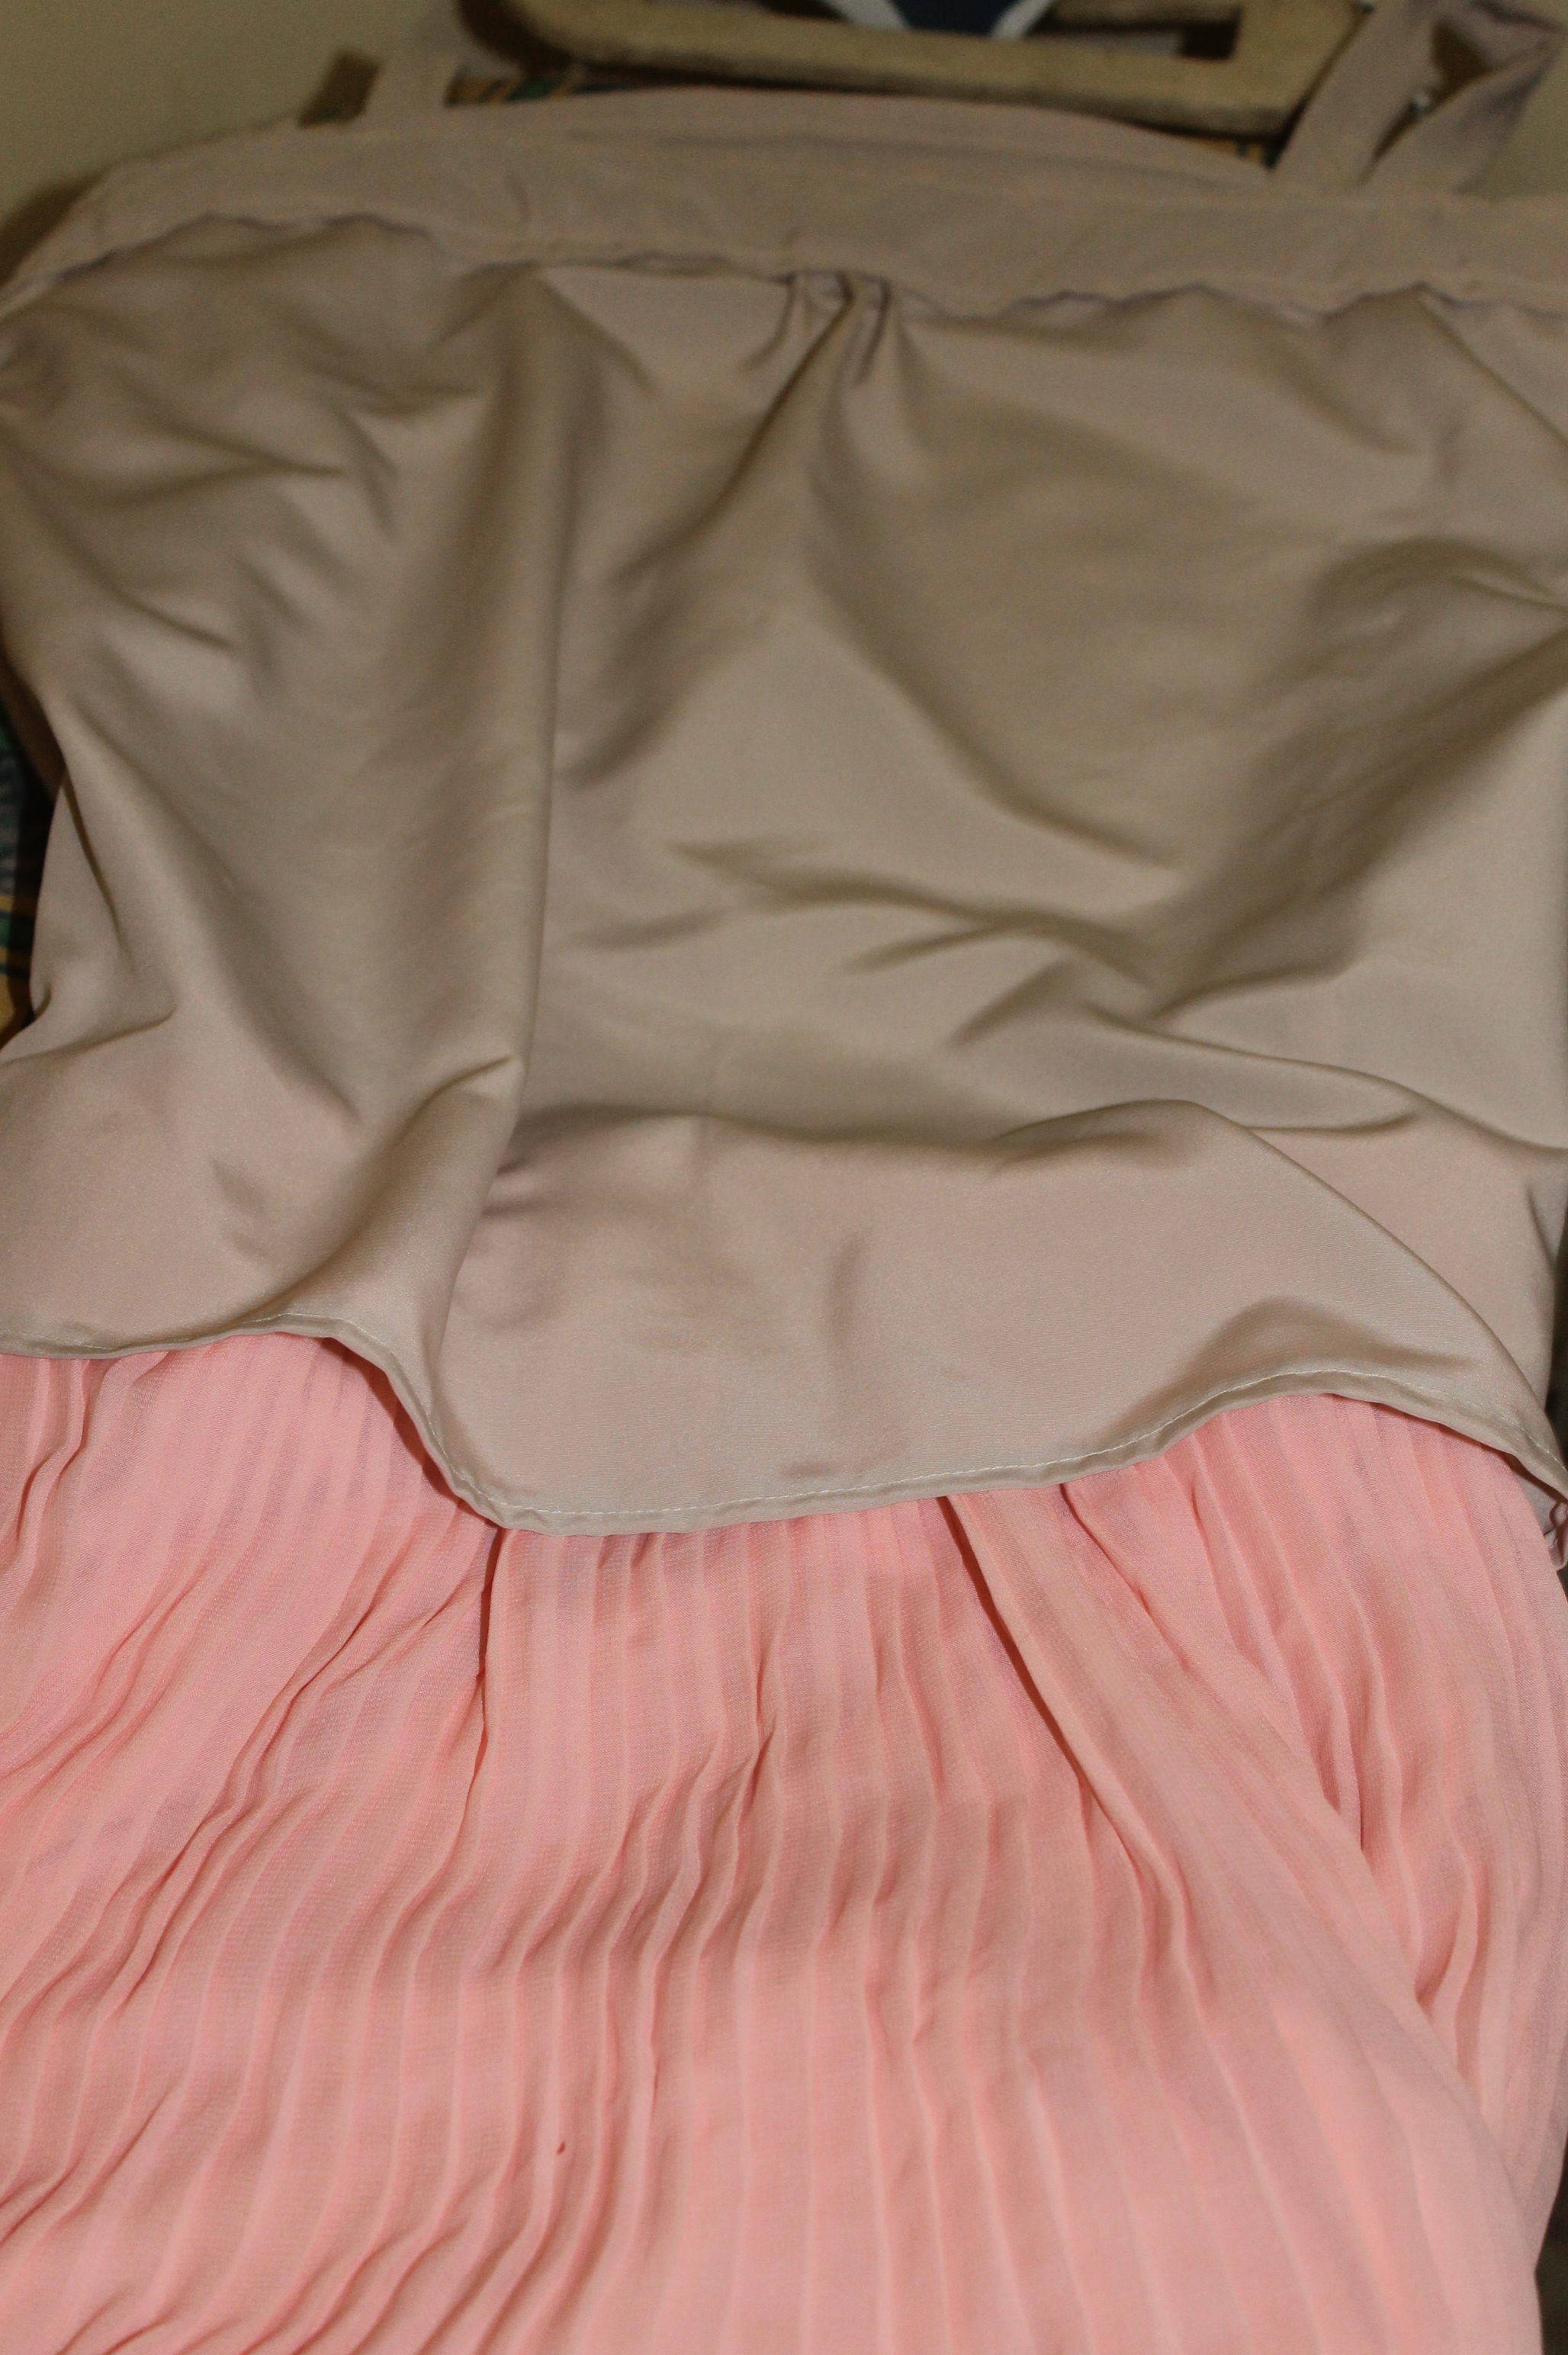
Yesterday saw me taking up curtains for a dear friend of mine (more on that later in the week after we hang them…curtains that is, not the friend!) followed by my own little project to pretty up the home. And I did it all with a couple of Fat Quarters I pounced on at our local Big W store yesterday! Last night saw me start & finish our own Bags Bag (or Bag of Bags); the normally not so cute but very functional tube to store all the plastic shopping bags in. I will share this one pic of the curtains simply because they match my current pedicure!!!
You can blame The Man for this one, as he suggested buying one over the weekend. Again, in my ever so humble opinion, very functional but not in the least bit appealing, especially considering where The Man wanted to hang ours. So while out and about doing post wedding name change stuff, I treated myself to a brief look in our local store and low and behold, there are some of the cutest Fat Quarters on the planet in store to tempt me! The hardest part was remembering the bank account wouldn’t be too friendly if I over-indulged!

Once I’d finished with the curtains (and noticing the colour matches my pedi!!) it was time to get into some cute sewing for our home. The Man’s fave colour is blue, and includes most shades, which made my choice a little easier. And considering this functional piece of storage will be hanging in public view I did want it to be cute. I think I’ve managed to tick those boxes at least! By the time I’d finished it all off after a few breaks, I was quite chuffed with myself. And having walked out to the kitchen to grab my cuppa this morning I’m still quite chuffed with myself!

For those who may be interested in making one up I’ll include a tutorial in a minute. Am actually considering making some more up for friends as a “Just Because” pressie. So easy using the Fat Quarters, and a lot of fun at the same time! Am now wondering when the bank account will allow me to indulge in some more Fat Quarter projects…the mind boggles!
The other bonus…I’m now super excited to be making up curtains for my Godson today!! I’m in love with my sewing machine again!!! Thankfully The Man (and recently converted Hubby) is very understanding of this affliction. YAY!!!
Making a Bag’s Bag (or Bag of Bags) to hang at home
Again, I found this super easy, and a lot of fun, to create. Hope you do too!
You’ll need;
2 complimentary Fat Quarters
Elastic for both ends
Matching or contrasting thread
Sewing Machine
Scissors
Rotary Cutter
Pins
Ruler
Marking Pencil/Pen
Getting ready
Pick which Fat Quarter you’d like for the main body of your bag then measure up your complimentary Fat Quarter into two pieces 14cm wide. This allows your casing for the elastic (mine was 2cm) as well as seam allowances. I tried to use my Rotary Cutter but found the cotton was just too fine (plus it was my first time using one!) so ended up cutting my rectangles with my old trusty scissors. Fat Quarters are brilliant as they are the perfect length and shape for this. If you would like a matching ‘handle’ to hang your Bag Bag up, cut another piece of your remaining Fat Quarter. Mine is 9cms long by 4cms wide.

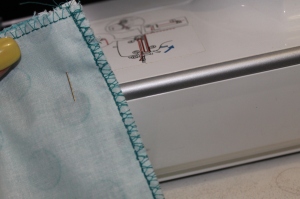
Sew a zig zag stitch along all edges that could fray. With your main Fat Quarter you may have the ‘end’ which won’t require stitching (another ‘cheat’ that I love!!) If you have an overlocker, by all means use that to secure edges. The picture above was taken after this step. For my handle I turned it right sides facing and did my stitch to secure and create at the same time, leaving one end open so I could turn it in and have the right side out without stitches being visible.
Align and pin your two end pieces to the uncut Fat Quarter, right sides together, making sure your edges are all squared up. Sew another round of zig zag stitches to attach the pieces together. I did this as I wanted some extra stability in the structure. After all it will be a rather ‘hands on’ storage piece. Oh and don’t forget to ‘overlap’ your stitches at the ends…I go over mine a few times to ensure they won’t come loose at any stage in the future.

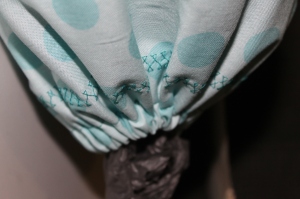
Sew a straight stitch 1.5cm in from your joined edges. This helps with stability, as well as looks a bit nicer on the right side. Once you’ve done this, have some fun (like I did) and do a decorative stitch on the right side of the two end pieces. A touch of whimsy to add to the cute factor.

Now to create your casings on both ends. My method for doing this is to take my elastic and fold my material over it to see how much room I need to make. I then add a ‘smidge’ more fabric to the length and pin. My trusty ruler then tells me how much space is ideal and I measure the remainder to match, pinning along the way. For this my casing needed to be 2cm, which allowed for the stitching to secure. Fold your handle in half length ways to create a hoop, then place on the inside so all the pretty fabric is facing each other. Bring the length ends of fabric together to create a giant tube and pin along the edge. I’ve given myself a 1.5cm hem allowance again for the length. Iron everything!! It does make it a world easier to sew it all up. Oh and again, make sure right sides are facing on the inside!!

Now the fun part…sew a straight stitch to secure and create your elastic casing on both ends. Do another straight stitch down the length to create your tube, leaving your casing ends open (so you can feed your elastic through!) I’ve sewn the handle section three times to give it a little extra strength.


Once you’re all stitched up, use a safety pin on one end of your elastic and feed through your casing. Once your elastic is showing on both ends, pull both ends to shorten your elastic to your desired ‘closure’ size. I’ve made the top slightly larger than the bottom so you can fit a hand inside without too much effort. Holding both ends of your elastic cut to your desired length and sew the ends together. Hide these inside your casing before closing the casing off (and finishing your ends) with another straight stitch. The end result should be similar to the photo. Repeat on the opposite end.
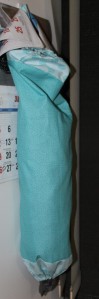

Now hang and stuff all those empty bags inside and enjoy!! A rather cute, yet entirely functional piece of storage is all yours!! This project is simple enough you should be able to complete in two hours. It took me a little longer as I got sidetracked and had to stretch my Naughty Knees a few times to prevent any incidents.


")


")


")


