Search

DIY TALEZ

My adventures into the world of DIY…the good and the not so good.

Tag

sewing

Pink Afternoon Tea for Boobies

Apologies for the rather long time between Posts. Been a little choatic over here over the past month or so, mostly with fun and a few games. Am hoping between now and Christmas I can grab a day or two to myself to indulge in my DIY Diva-ness.

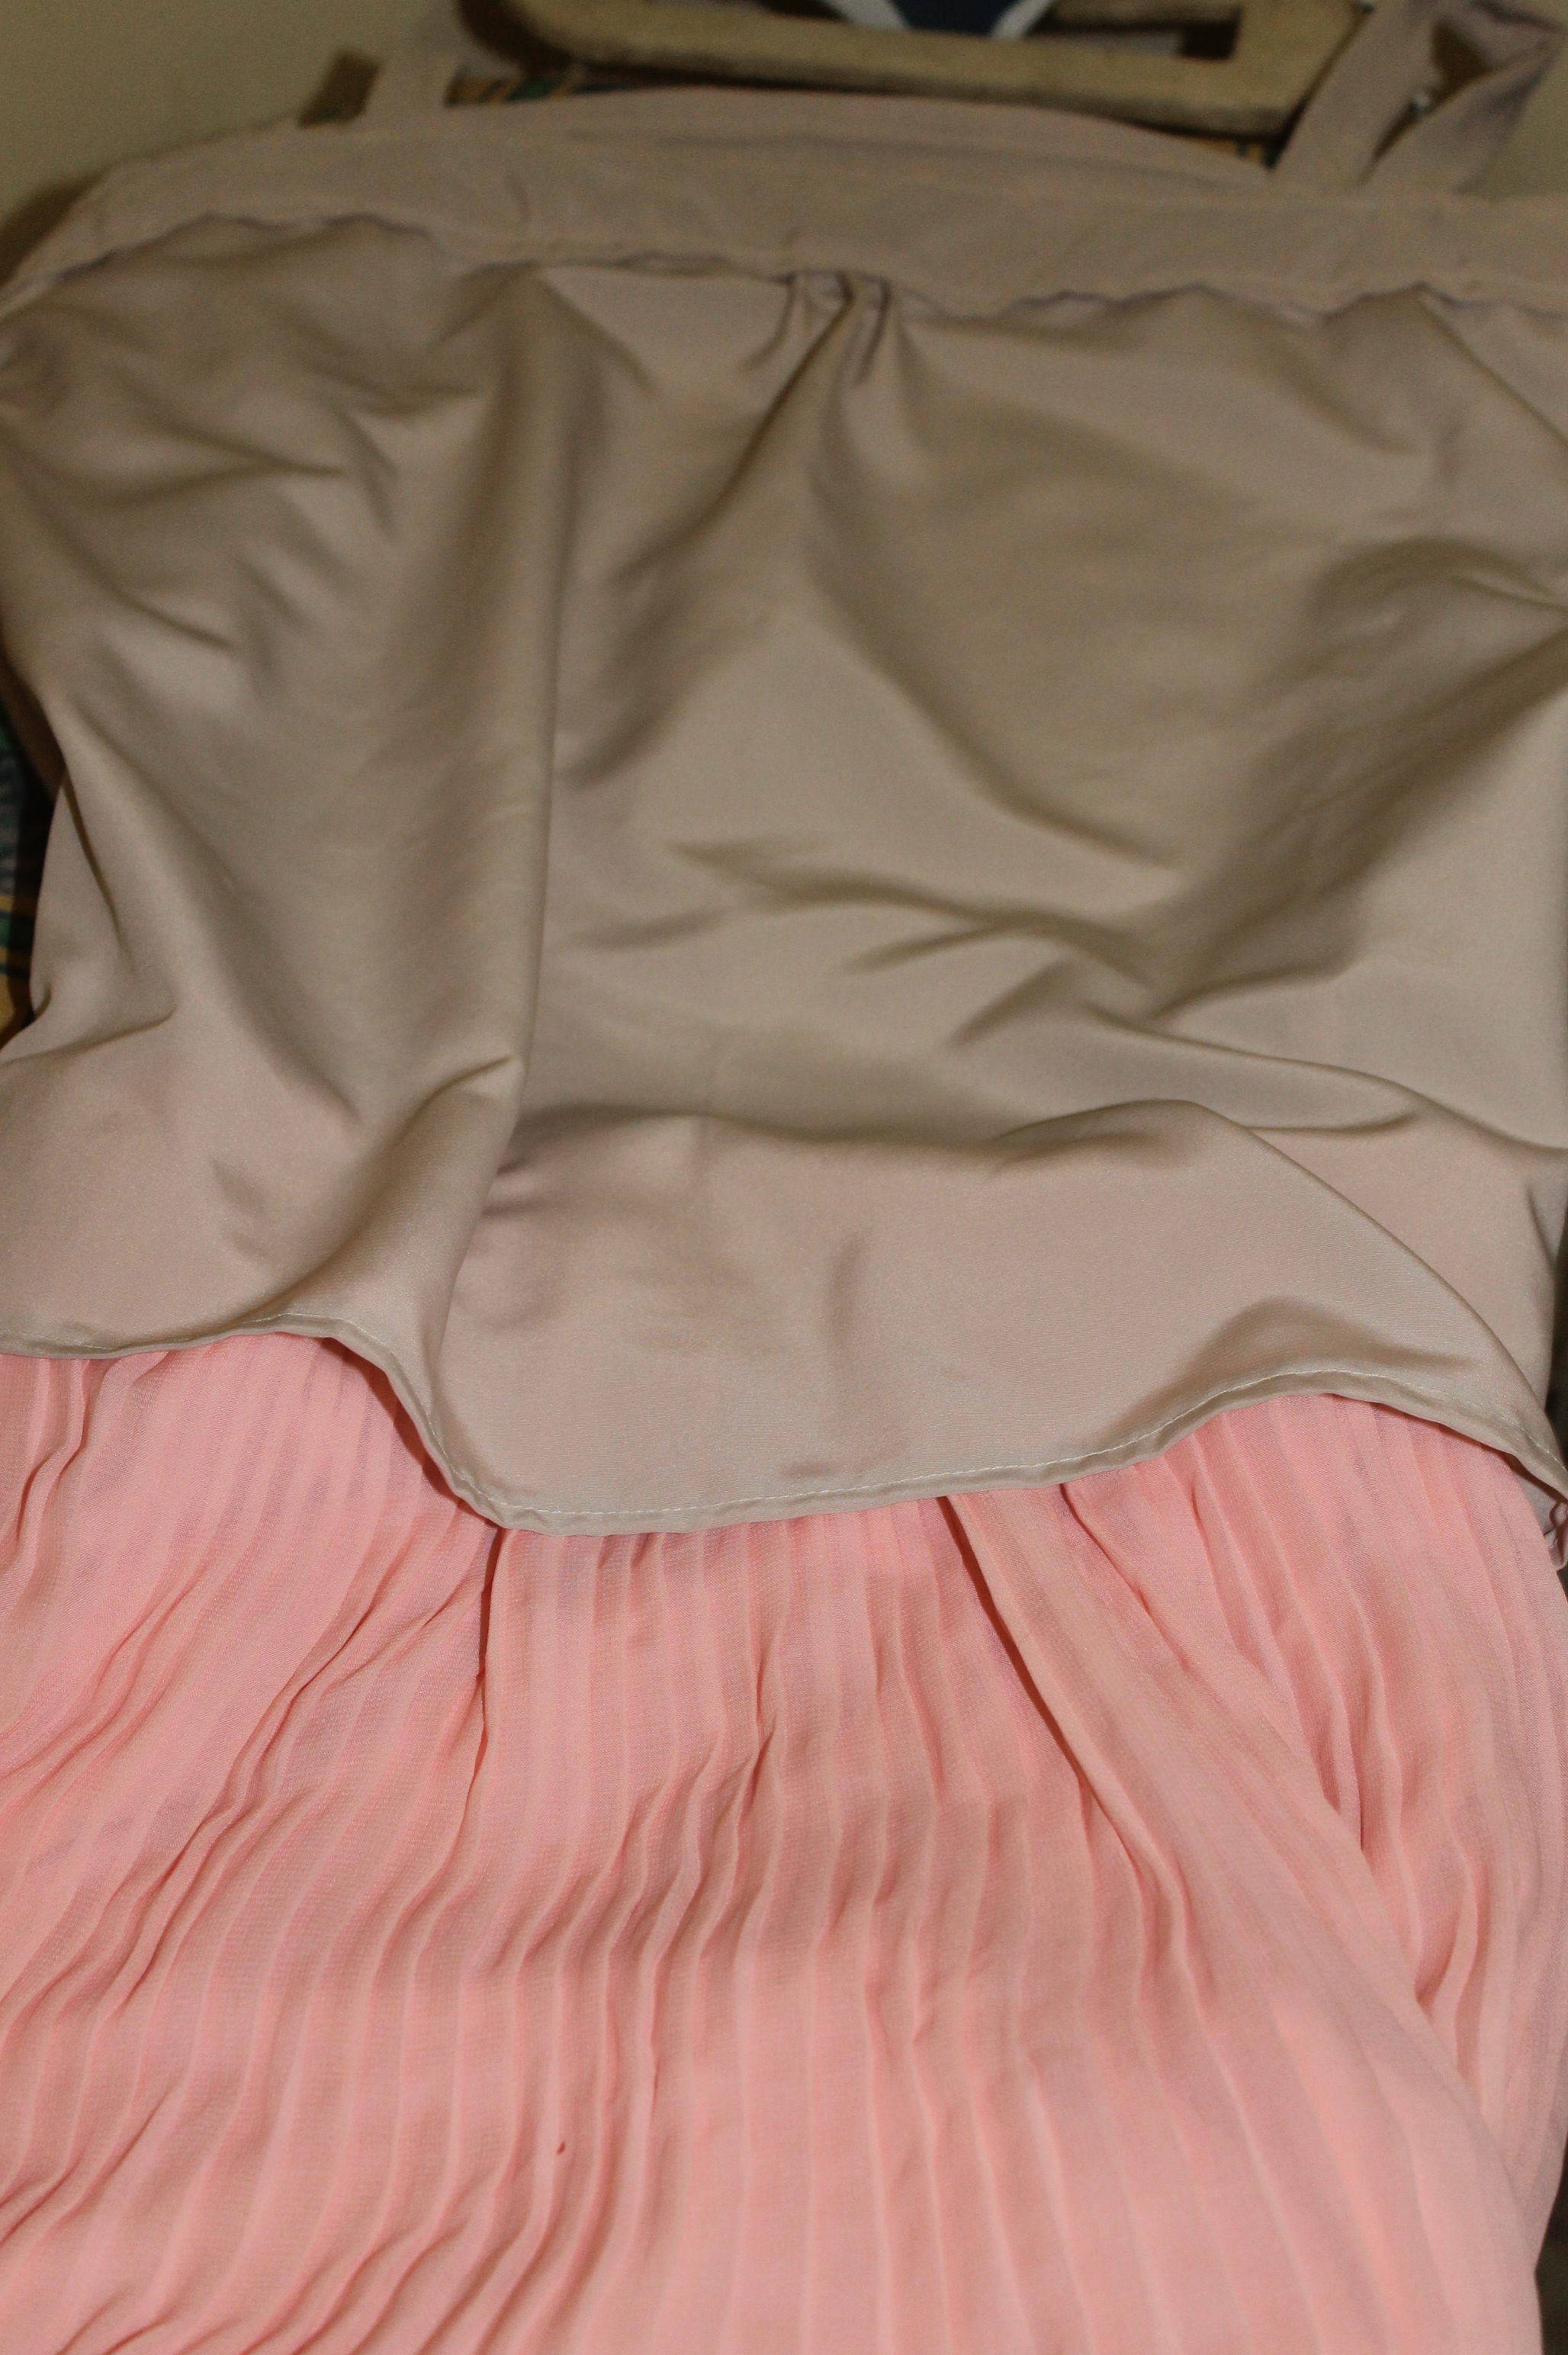
One of the really enjoyable events lately was my Afternoon Tea @ The Blue…which was more pink than anything…as a fundraiser for Breast Cancer Awareness. I even managed to whip up a small refashion for a new skirt and a top to go with!

BCA Top in the making BCA Top & refashioned Skirt

One thing I really learnt, NEVER EVER host a fundraiser right after a Card Class!! Big day is an understatement, but it was lovely to spread the fun from the morning to the afternoon.
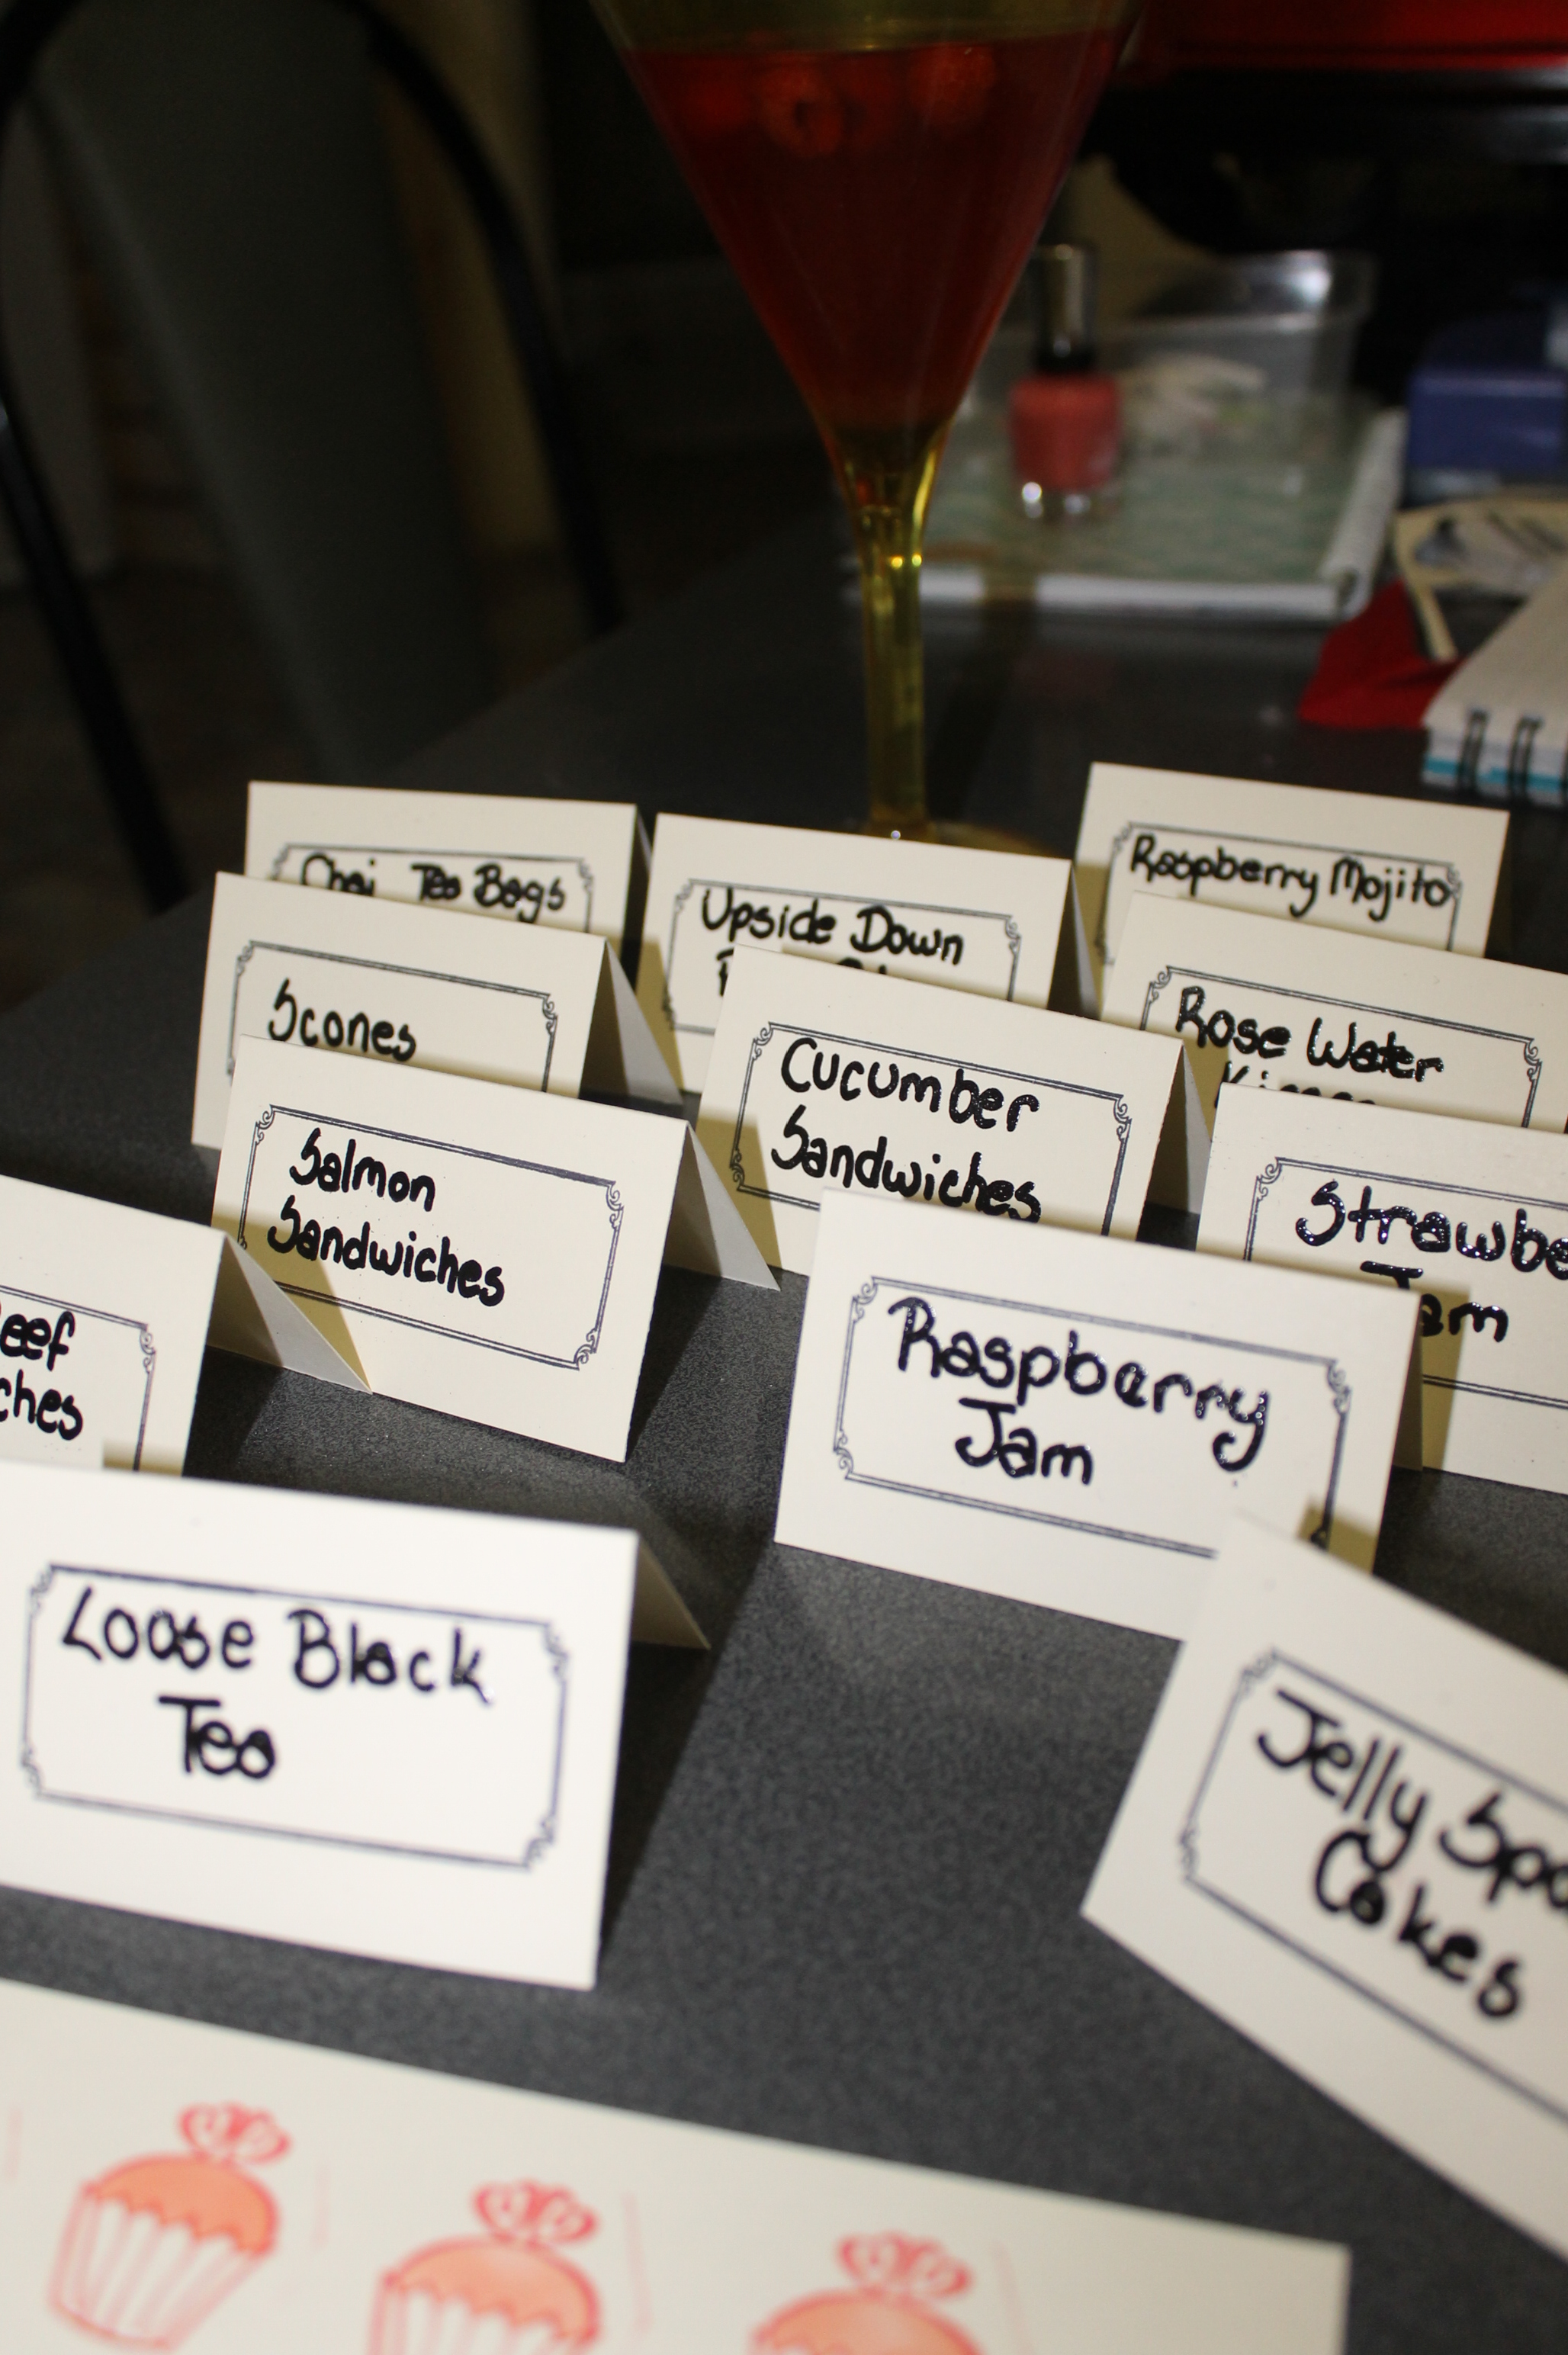
Choc Dipped Strawberries & Mini Bounty Bars setting in the fridge Embossed Menu Cards

The Menu included;

Salmon & Cucumber Sandwiches

Rosewater Mini Kisses with Choc surprise

Choc Dipped Strawberries

Grapes

Mini Bounty Bars (homemade)

Fresh Scones with Raspberry Jam & Cream

Pink Upside Down Pear Cake

Hawaiian Hibiscus Loose Leaf Tea

Raspberry Mojito Loose Leaf Tea

Black Loose Leaf Tea

Chia Teabags (I cheated a little!!)

Table Layout I'm a little teapot...

Sadly my mini Jelly Cakes didn’t turn out so great…still not used to our new-ish oven.

Balloons!!

Now I will openly admit, I’m no Martha Stewart…and that was made rather clear to me the day prior when I was attempting to unfurl/poof up the Puffy Garlands to decorate the lounge. Took a lot longer than I expected that’s for sure! Worth it for the overall look, but talk about frustrating!

Setting up Garlands

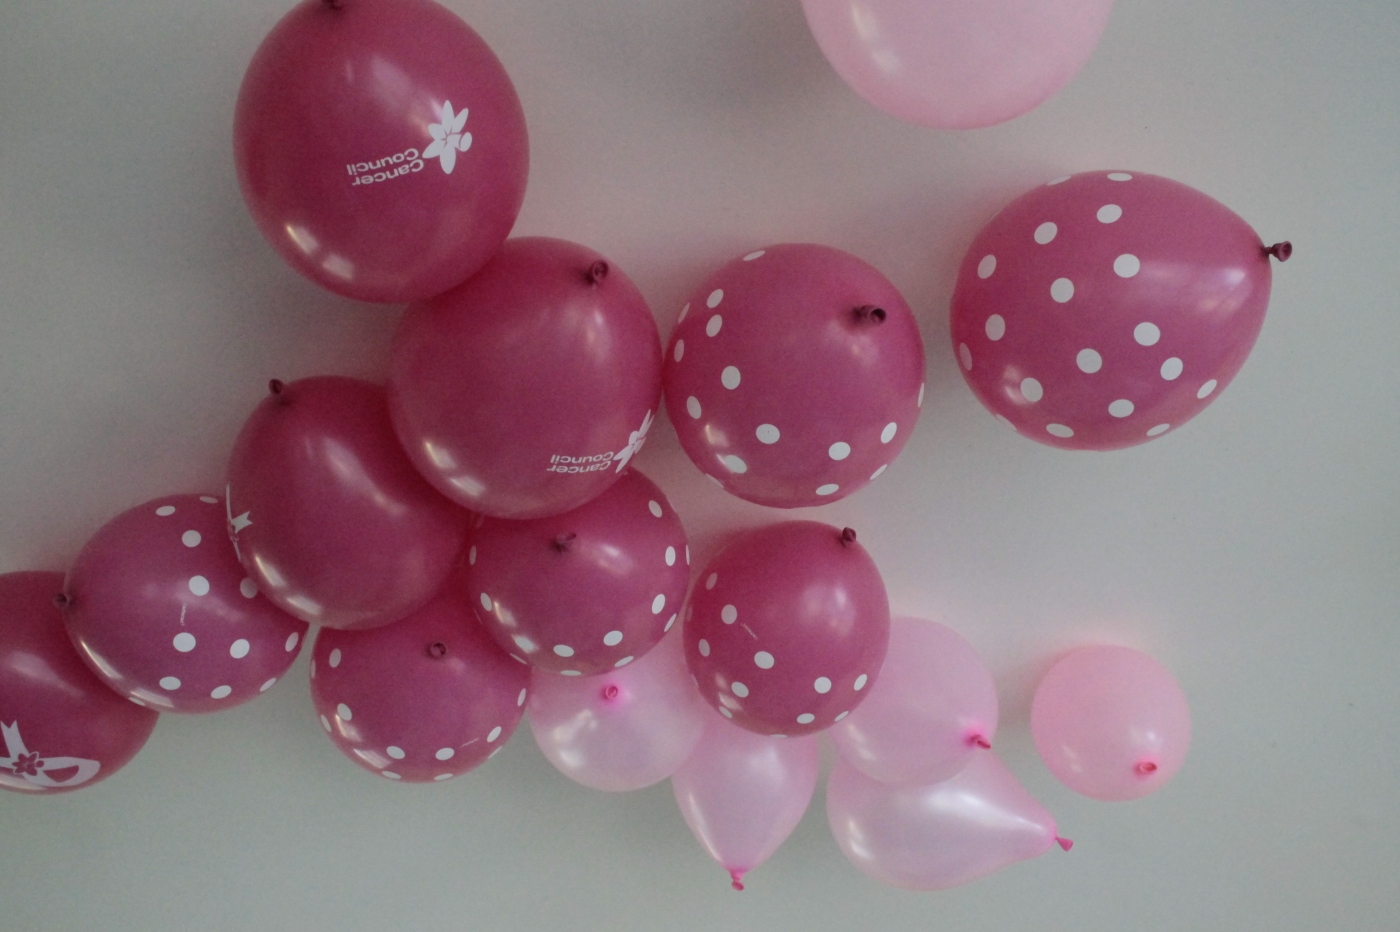
Also managed to use some tulle to hold the balloons to the weights. Sadly, I didn’t realise our Helium wasn’t as long lasting as the party supply stores supply, so the balloons we did up the day before weren’t at their best when they needed to be. Oh well, live and learn.

Nearly there

All in all, a great day, great laughs..awesome food which The Man enjoyed eating afterwards. He won’t do High Tea per say, but he’ll eat the food no worries!

Till next time…which won’t be too far off I promise. xx

FREE Yoga Pants Pattern!

UPDATE:

Last night’s confidence wasn’t entirely misplaced…only had one little hiccup, mainly because I didn’t double check something before sewing, so unpicking was in order for a short period of time. I used an existing pair of pants as my pattern; adding  just a little more room to allow for knee braces to be worn without being obvious.

End result though was well worth it!! Super, super comfy, still slightly dressy (not daggy looking in the slightest) trakkie pants/yoga pants that I am resisting taking off now that I’m home for the remainder of the day. A few more pairs are going to be made up me thinks.

IMG_6293 (2) IMG_6296 (2) IMG_6302 (2)


Have decided tonight, while our cold snap is kicking in, that I need a new pair of yoga pants to wear out and about…and am going to refashion my (now too large) knit maxi skirt to suit.

This tutorial is easy to follow, so I’m feeling rather confident at this stage….stay tuned to see how it goes!! =)

Silo & Sage

Today I’m over at Melly Sews sharing my Zinnia Jacket as part of the Riley Blake Knit Love blog tour. I’m super excited to take part in the tour on Melissa’s behalf and have the chance to play with some super yummy Riley Blake knits. You can read all about the Zinnia Jacket over on Melissa’s blog, and if you keep reading, you can make your own yoga pants by grabbing your FREE pattern!

FREE Women's Yoga Pants Pattern from If Only They Would Nap

When I decided to make the Zinnia Jacket, I quickly realized it would be a perfect pair with yoga pants. And obviously exercise is so much easier with a cute outfit. The Riley Blake knits are fantastic for this!

DSC_4697

You want to have a solid knit with 40-50% stretch and a good recovery. You can sew this with a serger or with a regular sewing machine, using a zig-zag stitch.

DSC_4686

These pants have an oh so ridiculously comfy…

View original post 337 more words

Father’s Day Tie | The Purl Bee

I know it’s not Father’s Day..yet, but just stumbled on this pattern from a blog published a few years ago and I thought I just have to share this!

Would be great for any time of the year for the guys in my life. Now to get organised and crack on with it.  =)


Father’s Day Tie | The Purl Bee.

Homemade Hair Curlers – Life After Laundry

Homemade Hair Curlers – Life After Laundry.


What a cute and practical DIY project. Would love to make these up for a Girls Night In. Hmmmm, not a bad idea come to think of it.

Happy New Year

Welcome 2015!

I can now officially say; “We’re getting married this year!” Oh wow.

That being said, I’ve actually had my hands full with a few wedding related projects over the past few weeks. I will share them with you before Valentine’s Day as I’m limited to my daily coping mechanisms. One of the projects should only take a weekend to complete, but due to other circumstances, I’ve had to do a little bit at a time and it is slowly coming along. The main thing is, I’m having a blast in the process.

So tonight I thought I’d share another wedding project from last year.

Again, Pinterest is the source of inspiration, and yes, I do spend a fair amount of time scrolling through the boards looking for ideas and inspiration. I call this my ‘Beaded Thong’ project, but considering some of our non-Australian friends consider ‘thongs’ as a type of feminine undergarment, I’ll rephrase this one to my “Beaded Flip-Flop” project.

The original inspiration

There are various ways to do this one, and all of them look fantastic. I choose to do these the way I have as I wanted something with a little bit extra support across the top of the foot…plus I’m a glutton for punishment and really loved (insert sarcasm) beading hundreds of little beads while pricking my fingers with the needle countless times. The end result though was well worth all the pricked fingers, spilled beads, mild eye strain and a few choice words thrown in for good measure.

My version

I do recommend using the hot glue gun to attach your ribbon to the plastic/rubber strapping. A small dollop will do the trick, plus seal any fraying on the ends of your ribbon. Each individual shoe took less than 2 hours to do, so 4 hours a pair. I’d do a little bit at a time so I didn’t get too frustrated, though more times than not I wouldn’t put the work down until I’d finished it. Again, glutton for punishment.

I’ll be wearing mine on my wedding day…still to decide if I’ll wear them down the aisle or just while we’re getting ready and during the reception. Will see how I feel on the day.

You’ll need:

Pair of rubber/plastic flip-flops/thongs

Spool of ribbon. I used approx. 1m each pair.

Waxed thread (for beading)

Selection of beads. Quantities will depend on the size of your beads, as well as how much you’d like to cover.  On my pair (pictured above) I used around 500 beads each flip-flop/thong.

Sewing needle (one that fits through your smallest bead is ideal)

Hot Glue Gun & glue stick.

How to:

1/ Using a small dop of hot glue, attach one end of your ribbon to the end of your strap. I did mine for the inside, but it’s totally up to you. Wind your ribbon to cover the entire strapping on your thong, including the ‘thong’ piece between the toes. Attach to opposite end of the strapping with hot glue.

2/ Weave/lace your ribbon evenly from the ‘thong’ toe divider to the distance you feel comfortable wearing across the top of your foot. Attach with hot glue or a few strong stitches. This area becomes your main beading platform.

3/ Start your beading in the centre of your ribbon platform and work outwards in any design you like. I found it easier to start from the middle after a few trials and error of other starting points.

_MG_6798

4/ Work your beading up the straps to a spot of your choosing. Complete with a few more strong stitches.

5/ Wear and admire your work!! (Most important part!)


Such a cute little project, I had to share it!

Even though I’ve started working out all my DIY Christmas gifts, I’m still hunting around for new ideas…with a few birthdays not long into the New Year it’s great to have something already in the pipeline!

Stumbled up this tutorial on making a cute, little coin purse.

http://allforthispenny.blogspot.com.au/2010/02/coin-purse-tutorial.html

Would love to know what you think, and if you try it out, please let me know how it goes!!


How I made a modified Ribbon Elephant

To celebrate my Godson’s birthday today I made up a project I’d been thinking of for some time. A soft toy elephant in his favourite colour.

I found the pattern a little while ago on the Sew Daily site, in their free e-book section. They have some of the cutest projects that are so easy to make and so much fun. Worth a visit when you’ve got a few minutes. http://www.sewdaily.com/free-sewing-patterns-for-kids/

Today I used some yellow jersey knit and animal print cotton to create his birthday present. (Materials from Spotlight and Big W) I didn’t need much to be honest, so this is a perfect project to use up some of those odd scraps that are left over.

After ironing out the creases in the cotton I cut out my pieces to start this new journey.  Please forgive the choice of pins, somehow my pearl top pins have grown legs and wandered off.

Starting point

The included instructions are very easy to follow, and all up this project took less than an hour to complete.

I modified the original pattern in two ways…I omitted the ribbons around the ears (though this would be great for younger children & babies) and used different material that I had on hand. Next time I’ll make it according to instructions, just for something different.

Hope you’ve enjoyed this little tutorial, and if you also make up this pattern, or any of the other three included in the free e-book, please share your pictures, as I’d love to see what you create.

Starting to come together_MG_2719 _MG_2722


Finding me on Pinterest

I’ve been a fan, and user, of Pinterest   for quite awhile now. It inspires, educates and makes me smile as well as sucking me in so I lose track of time. Not that I’m complaining…far from it!

Many of my DIY projects, as well as most of my inspirations, can be found on one of my many boards. It’s a great way for me to keep track of projects I want to do in the not too distant future without cluttering up my computer folders.

If you’d like to see a bit more of my little experiments, then please click on the link and follow one or all of my boards.

Hope to follow you soon!

http://www.pinterest.com/cariarobertson/

DIY tee to pencil skirt refashion – worn 2 ways

Sharing another of my favourite blogs, Cotton and Curls. Liz is a very talented lady who has some of the most impressive, inexpensive projects to copy.

Hope you enjoy this refashion post as much as I did!

DIY tee to pencil skirt refashion – worn 2 ways.

Up ↑